
The Complete Guide: Change Your Apple ID Country/Region
Changing the region of your Apple ID is a crucial step if you have moved or need to access country-specific content. This process allows you to download apps, utilize services, and access media only available in the new country's App Store.
⚠️ Important Preparatory Steps & Notes
ℹ️ Gift Card Balance:
If you have redeemed an App Store/iTunes gift card, your Apple ID balance must be zero before changing your region. If you cannot spend the remaining balance on any purchase, contact Apple Support for assistance in zeroing out the account.
⚠️ App Availability Warning:
Apps available in one region may not be available in another. For instance, an app available on the Nepal App Store might not be on the India App Store. Ensure you download any region-specific apps you need before changing your region.
📱 Steps to Change Apple ID Region (On an iPhone or iPad)
- 1
Open Settings
Go to your device's Settings app (the gray gear icon).
-
 2
2Access Apple ID
Tap your name (your Apple ID profile) located at the very top of the Settings screen.
-
3
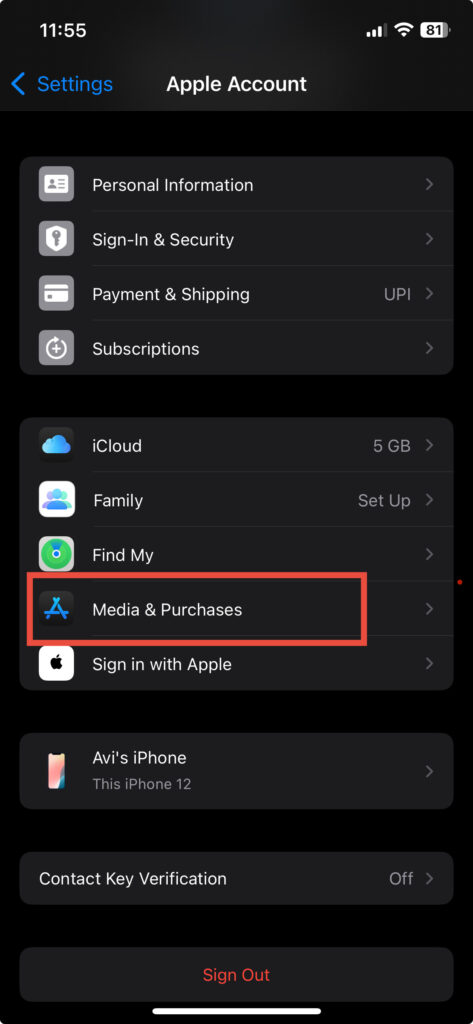
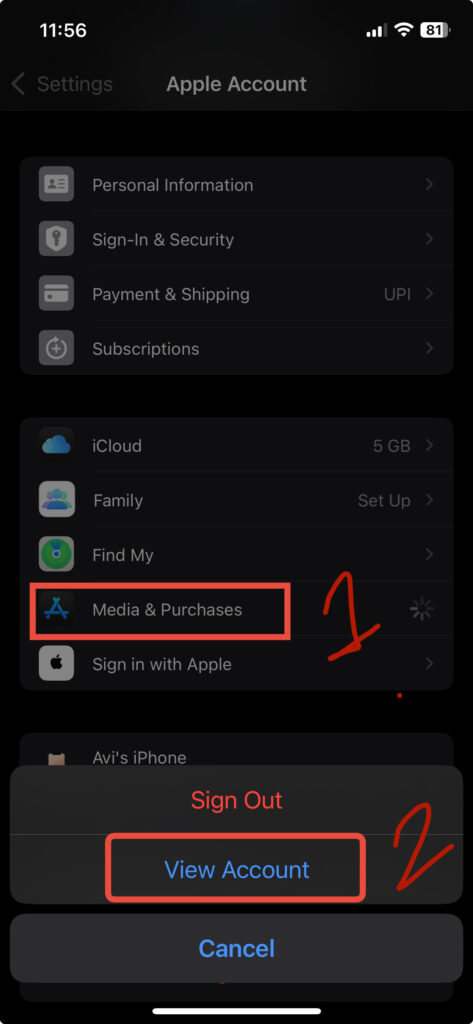
Navigate to Media & Purchases
Tap Media & Purchases, then select View Account. You may be asked to sign in using your password or Face/Touch ID.
-
4
Change Country/Region
Tap Country/Region, then select Change Country or Region from the list.
- 5
Select New Region & Accept Terms
Choose the desired country from the list. Read the new terms and conditions carefully, then tap Agree to continue.
-
 6
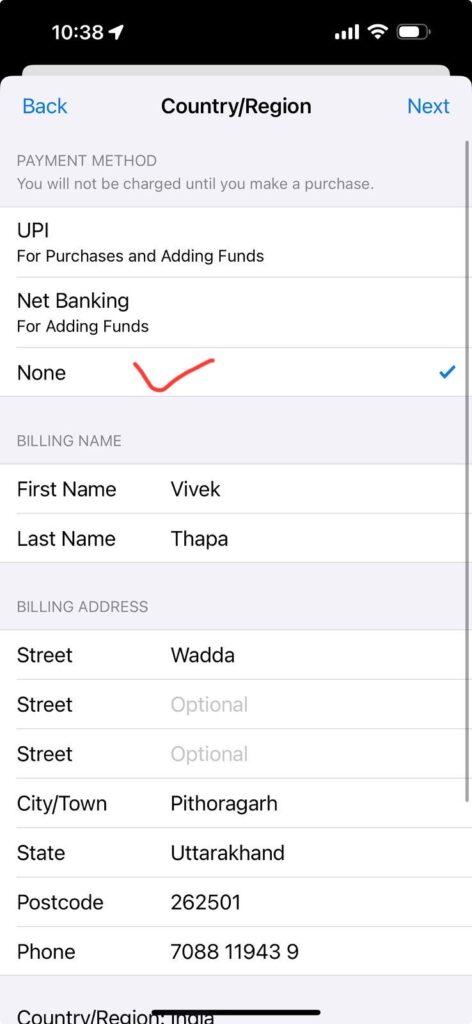
6Set Payment and Billing Address
For Payment method select NONE. Enter your First and Last Name for the Billing Name. For the Billing Address, you may search Google for a general "Random Address India" or "Random Address USA" to complete the required fields.
- 7
Finalize the Change
Click Next (or Done) to save your changes and complete the process.


That's all you are done! Your Apple ID is now set to your new region.
